

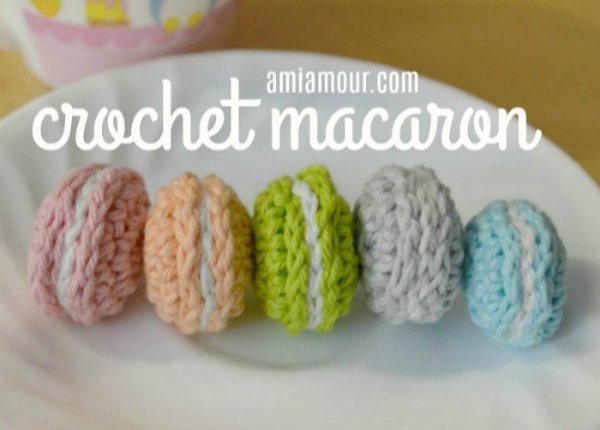
Macarons: A Crochet Experiment
Some of you may already know that I like to modify crochet patterns to suit my needs. I find both the process & results enjoyable & rewarding.
In this post, I will be sharing with you my modification process for a macaron key chain I recently worked on. I will also have my pattern version at the end.
To begin, I would like to share the original pattern which I found for free on pinterest. (insert pinterest thumbnail here)
My first step for any crochet pattern is to make it as the pattern says then evaluate for adjustments.
Once I made the pattern-exact macron I took a look to see what I wanted to adjust.
The first thing I looked into was making the “filling” more prominent cuz I love dessert & like that extra filling in my cookies.
1st Adjustment
Keeping everything the same, I simply added a row of half-double crochet after the slip stitch row (in white). Just like a science experiment, we only want to change one thing at a time.

I felt this version was a bit too much based on the size of the project. With that information, I was able to move on to…
2nd Adjustment
Still focusing on perfecting the filling effect, I changed the half-double crochet row to just single crochet. This adjustment was more like what I was envisioning, but something was still off.

I wasn’t sure if it was my yarn or my hook size, but my macarons felt a bit small for the key chains I was looking to make…
3rd Adjustment
Ultimately, I chose to up my hook size from 3.75mm to 4.25mm (I couldn’t find my 4mm hook so I went with the next best thing). I wanted to make sure to use smaller increments & not to exceed the 4.5mm recommended hook size for the worsted weight yarn I use.
(amigurumi projects tend to require a small hook size to avoid gaps as well)

This was fairly successful, but I still didn’t feel like I had explored all my options yet…
4th Adjustment
Okay, this one is kind of a 2 in 1 adjustment. I wanted to try increasing the size of the macaron by adding a row of [increase, 2 single crochet] before continuing on normally with the filling adjustments I made, but I’m a thorough nerd & chose to test this with both 3.75mm & 4.25mm to help determine the best size for the hook & the pattern itself.
Now, this is exactly what I wanted! The larger version not only brought the whole work together, but it also makes for a nicer key-chain which was my goal :D
5th Adjustment
This last adjustment was honestly just me being picky haha. I wasn’t sure my hand sewing was truly better than using slip stitches to connect the 2 macaron pieces. So, you guessed it, I made another prototype (or rather I tried to make another prototype).
However, this just didn’t work for me. If I slip stitched around the outside it was too bulky, but if I turned the macaron inside out & slipped around what would be the inside the bottom cookie looked way more “smushed” when I flipped it right side out.
Ultimately, I chose to stick with my sewing technique which is also different from the original pattern - (I think my way is bit simpler if you care & is included in the pattern below)
Conclusion
This was a smaller project which made it easier to put this post together in a reasonable amount of time haha. I hope this helped make pattern modification seem easier. I use this basic “technique” or “system” to alter all sorts of projects so they suit my needs or desires.
On top of that, you can use bits & pieces of patterns you like to make a brand-new project all together! I actually did that for a chicken handbag I made for a friend & it turned out great!
Especially when it comes to amigurumi, crochet is just shapes. If you can familiarize yourself with those shapes, you can make just about anything! One of my favorite ways to learn new stitches or techniques is to find a pattern that uses them. That’s how I learned to crochet & how I continue to improve, & I think you can too!
If you enjoyed this post or have other topics you would like to see please let me know! You can use our contact form on this site or @ me on social media
Thank you for your support!

Macaron Crochet Pattern (my version)
Materials:
worsted weight yarn in two colors (one for the cookie & the other for the filling)
4.25mm or 3.75mm hook (I saw little to no difference between the 2 sizes)
yarn needle
scissors
stitch markers (specifically 2 & I like to use different colors)
Polyfill (or shredded plastic grocery bags)
Abbreviation Glossary:
~all crochet terms are US~
sc = single crochet
inc = single crochet increase
sl = slip stitch
dec = decrease
sl2tog = slip stitch 2 together
This pattern works in rounds - if you’re not fond of the magic ring method you can chain 3 & use the very first chain as the “ring”
TOP:
1: 6 sc into magic ring (6)
2: *inc* repeat around (12)
3: *inc, sc* repeat around (18)
4: *inc, 2 sc* repeat around (24)
5A: Use 2nd stitch marker to mark back loop before continuing using the front loop only - *sl2tog, sl 10* repeat (22)
5B: switch to your 2nd color & work in the back loops you left behind in 5A(where your 2nd stitch marker was placed) - *sl2tog, sl 10* repeat (22)
6: sc around (22)
Fasten off with short tail
~ if you need help with row 5 A & B ami amour has some great reference photos ~
BOTTOM:
Repeat TOP rows 1-5 (including A & B) using your 1st color only
Fasten off, but leave a long tail this time
SEWING YOUR MACARON
Below is a photo explanation of my sewing process (because words are hard haha).
It’s a simple 2 step process repeated around & once you’ve stitched all the way around you’ll the classic amigurumi move of pulling the thread through your work & then trim (photo of that below too). Add a bit of stuffing when you have just a few stitches left to close.

Hold your pieces together & continue to stitch through the front of the filling sc, then through the stitch of the top piece as you normally would.

Classic amigurumi finish
To finish up pull the needle & remaining thread through the project & out the opposite side ( I go through the top, but you do not have to) then snip the thread close to the project.